The Velo Yellow Bikes: Part 2
This is a continuation of the “Velo Yellow” kids track bike story from our resident bike expert, Kurt Kaminer:
The last time we left off with the Velo Yellows – our three kids’ track bicycles – we had just picked them up from Jeff at the Recyclable Bicycle Exchange in Ft. Lauderdale. Since then, it has been my task to fix them up in the process of converting them into upright-bar city bicycles (“frankenbikes” if you must) for the BikeSafe Program.
Beware: A fair amount of bike repair geekery to follow, including some advanced stuff (even for most bike shops).
Let us start with the advanced stuff first: Tackling the front forks.
As mentioned in Part #1, the biggest issue with converting any track bike to street use is their lack of brakes. This usually prevents conversions like ours, as track forks generally do not have provisions on the “crown” (the place where the fork blades join into a single unit) that allow a brake to be bolted on. Some dual-duty, fixed-gear bikes sold in shops these days do have brakes and brake mounting points by default, but not purpose-built track bikes.
However, of the ~15 Andante youth track bikes we had to choose from, three had been built with road fork crowns (hence, “The Three Velo-Yellows” and not “The 15 Velo Yellows”). These road crowns have the material necessary to accommodate a brake, even though they were never drilled for them when the bikes were initially built.1
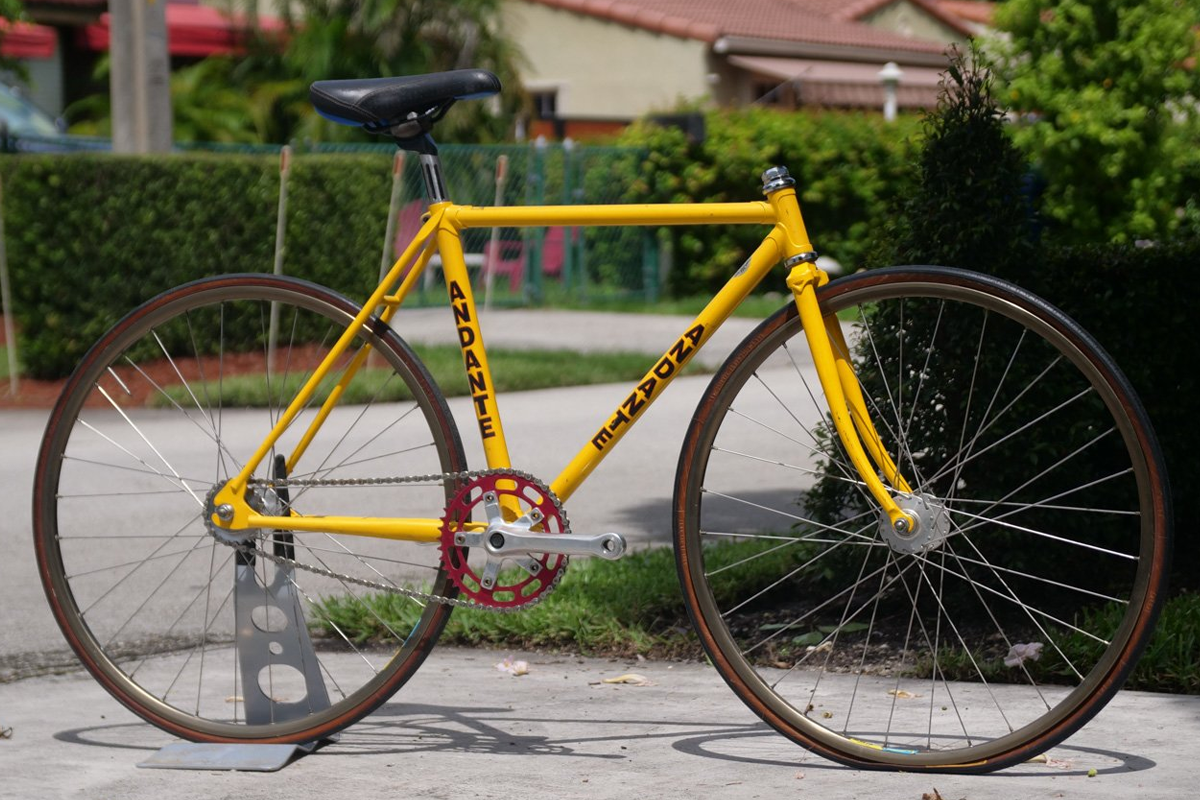
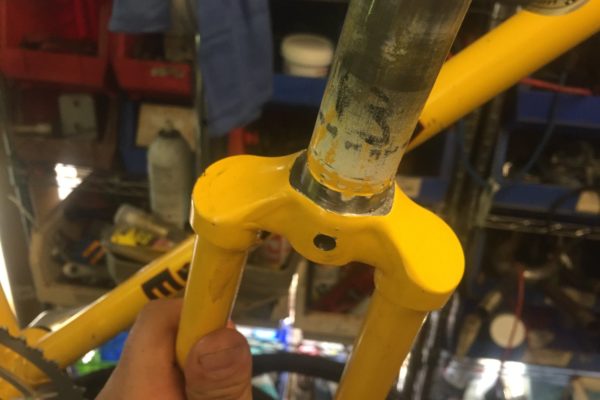
Enter a drill press. With some careful alignment and a punch – ensuring the drill bit would stay centered during this procedure – the necessary holes were drilled in each crown to accommodate front brake calipers.
Keep in mind that this is an unusual modification for most bicycles and is usually the task of a bicycle framebuilder. I cannot stress enough that you should never drill a hole in any fork (or frame) unless you really know what you are doing.2
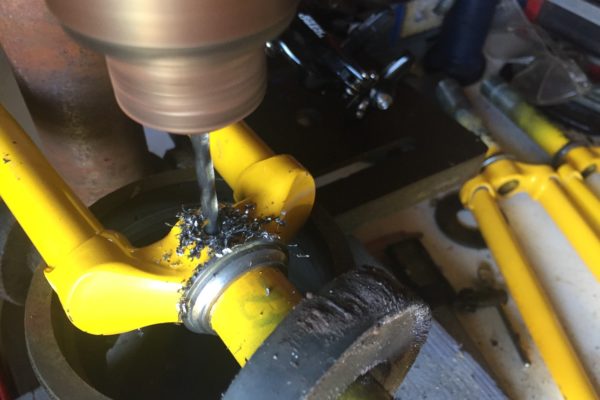
Drilling the forks was successful and uneventful, but we did have to do a bit of extra prep on the forks. Apparently, the area where the crown race sits (the crown race is the lower bearing raceway that allows the fork to spin in the frame) was full of paint and had never been properly cleaned.
The paint and lack of prep in this area had caused the crown race to crack on two of the three headsets. This isn’t uncommon on aluminum headsets, but it is nothing short of a colossal feat to destroy a steel crown race in this manner. We are replacing the cracked bits, of course.
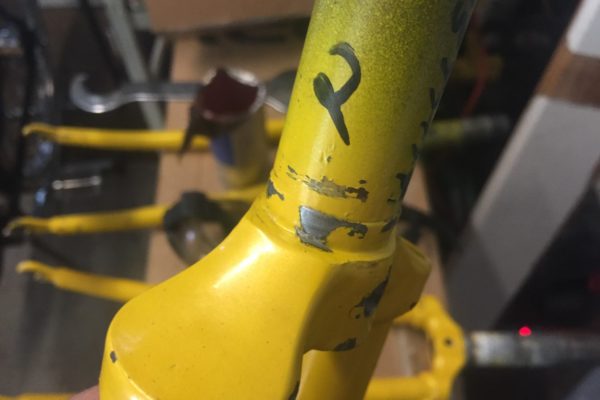
We fixed this mess using an imposing looking tool known as a “crown race cutter.” This tool removes just enough material to create a perfectly flat surface for the bearing race to sit on, fixing issues like these.
The very neat looking result:
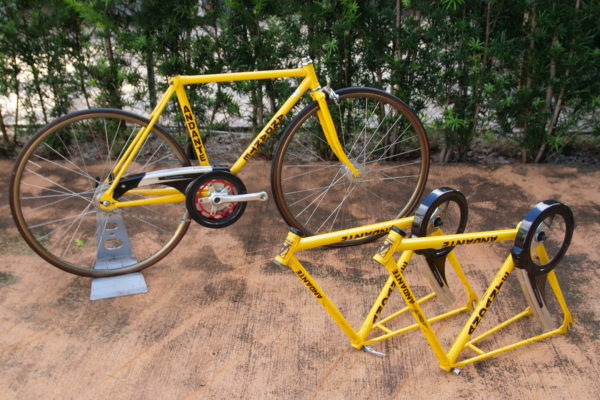
With the fork issues taken care of, they could be installed back into the frames, letting reassembly begin.
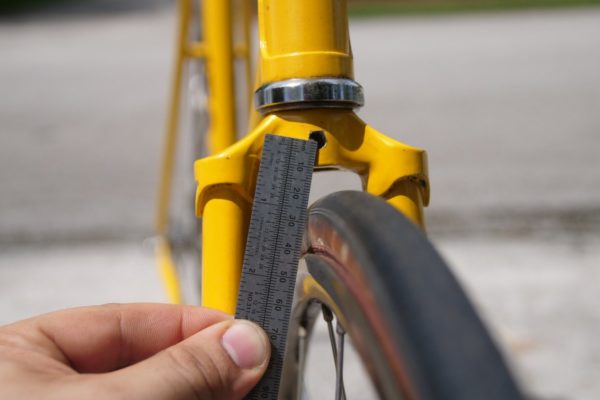
The wheels were reinstalled to check brake reach with the new brake mounting holes. Roughly 47mm, just like steel road bikes from the mid-1980’s.3 Perfection.
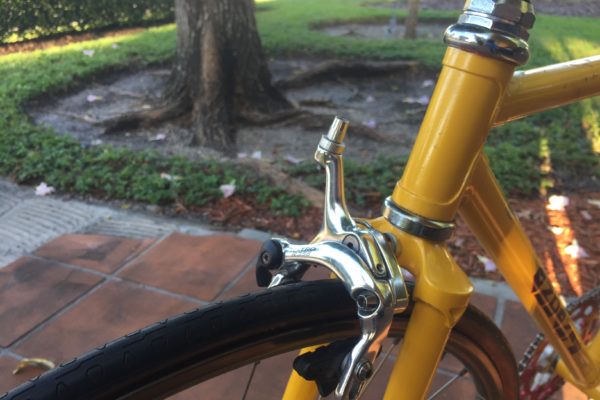
Tim Creyts, a member on BikeForums.net, provided a set of Tektro dual-privot brake calipers for the first bike. They fit perfectly.
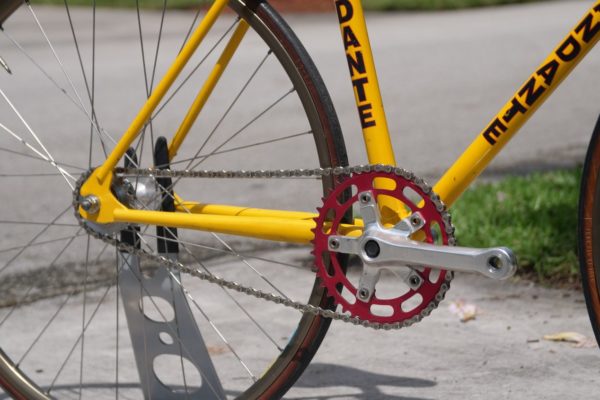
The generosity from BikeForums members did not stop there. Jeff Nelson donated two sets of 650C tires for the project, and the freewheel previously donated by Scott Stulken (see Part 1) was installed in place of the original fixed gear track cog after re-dishing the rear wheel. I also chipped in from my own parts and added a chain and smaller front chainring, completing the drivetrain.
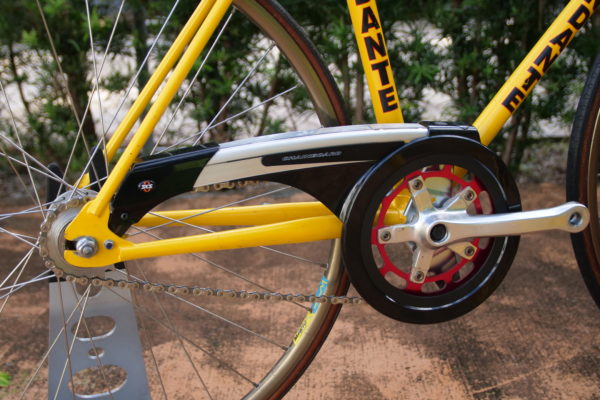
We were also extremely lucky to find three new, matching SKS Chainboard chainguards for these bicycles on eBay. The Chainboard was part of the idea from the start, as they are one of the few aftermarket guards that can be cut to any length and have the coverage to keep kids’ trousers out of the chain.
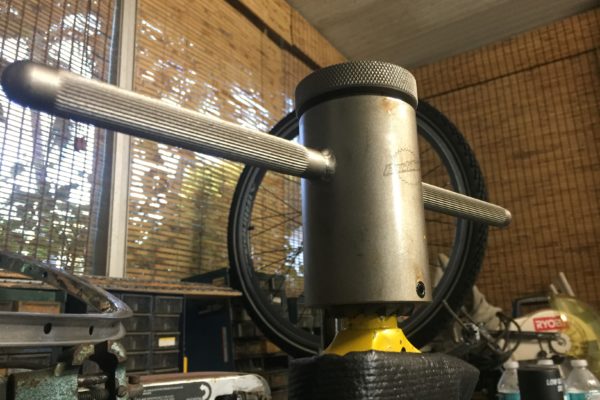
Fitting the Chainboards was a fairly lengthy procedure, requiring the removal of the cranks and bottom bracket. The bottom bracket cartridges were surprisingly tight.
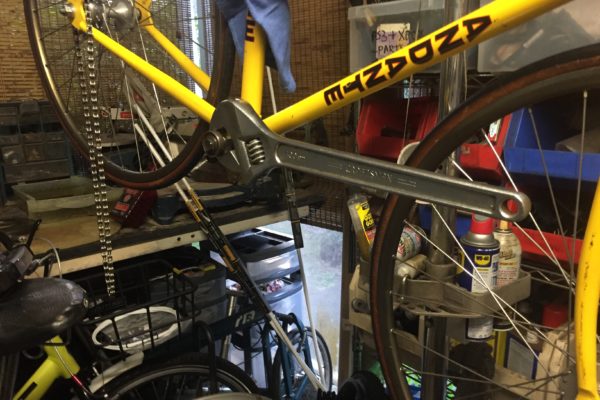
As we said…surprisingly tight.
It was worth the effort though; the guards fit perfectly after trimming and basic adjustment. I also avoided having to rely on a P-clip by drilling and tapping the track ends to accept the rear chainguard tab. With this rigid mounting point, there is no chance that the chainguard will ever rub the chain if anything hits the guard from the side. It is all part of making a proper, kid-proof city bicycle.
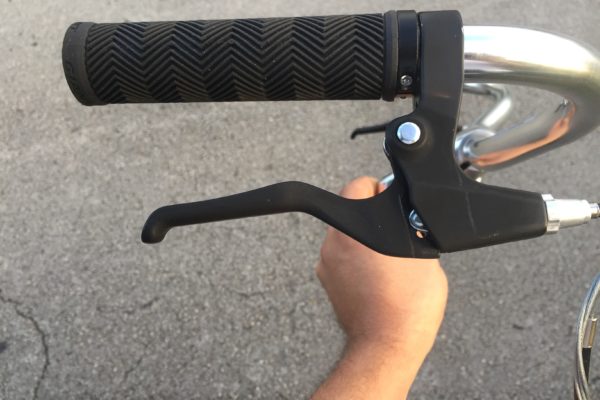
Linus Bicycles also helped by providing us with their North Road handlebars. These North Roads are a bit narrower (480mm) than most aftermarket bars of this type, but they still have the right rearwards sweep that makes steering comfortable and easy, even if the user hasn’t been on a bicycle for a long time. They should work well for the young riders who will be using these bikes.
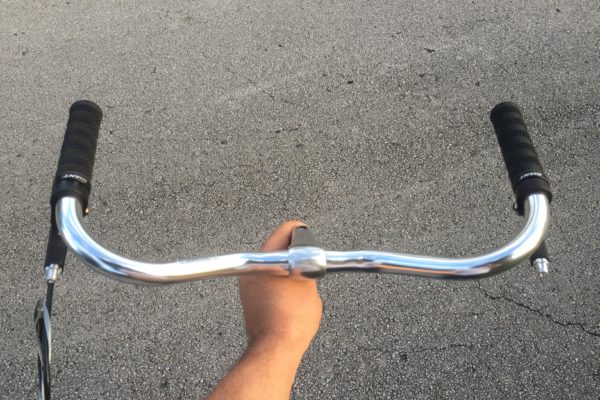
Two of our old Giant Brass 1 mountain bikes donated their locking grips for these bars, and a pair of retired ofo dockless bikes (from Bikes for Tykes in Texas, through BikeForums member Paul Cunningham) provided their brake levers.
These levers are not particularly unique, but they have reach adjusters built in, which made it easy to set the levers so that smaller hands can grip the brakes. Though the lever travel has been reduced, the dual-pivot Tektro brakes will provide more than enough stopping power for youth riders to come to a quick and controlled stop.
Choosing the right pedals took a bit of time and thought. Not long ago4, we learned that the entirety of Bike New York’s training fleet is equipped with quick release pedals to aid in teaching people how to ride (using the balance method). These pedals were considered, but the possibility of using the Velo Yellows to teach riding is unlikely – our Giant Brass fleet allows for greater overall seatpost adjustment – so we decided to experiment with a pair of affordable folding pedals on the first bike.
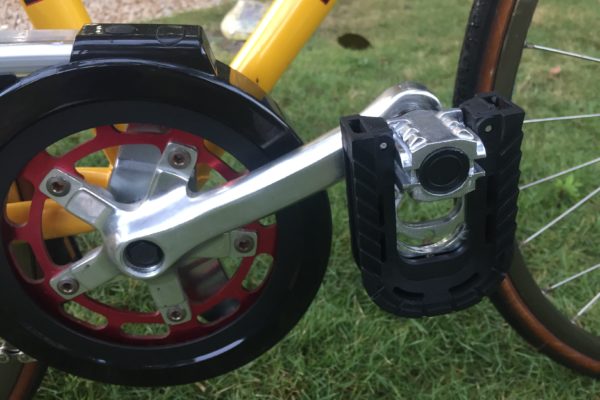
Provided they remain secure under pedaling pressure, all three will receive the same pedals to make storage easy. Quick release pedals still remain a future consideration if the Yellows turn out to be ideal training bikes.
That concludes the story for now. The handlebar stems finally arrived after some mix-ups and a very long wait, but we still have to locate chainrings, brakes, freewheels, and other sundries for the other two bikes. Nevertheless, we have our template in the first of the three.
If you see us sitting outside like a puppy dog waiting for the mail delivery, you’ll know why.
- A note for professional bicycle framebuilders who are concerned about the strength of the fork blades: No need to worry. The tubing used on these bikes is not high end nor track specific. It is seamed and is very hard to cold set – I have seen weaker fork blades used on 3-speed adult utility bicycles. The steerer tubes are extremely thick at the crown too.
- I know what I’m doing ;)
- Many 1980’s road bikes were fitted with similar sloping fork crowns, some identical to these.
- At Bike305’s Learn to Ride a Bike course with Rich Conroy of Bike New York

